This is a translation of my original article, which was first published on Drive2
Since my Android phone days, I had a cheap ELM327 adapter from AliExpress lying around.
I did some reading online beforehand and deliberately picked one with two boards and a PIC18F25K80 controller.
The peculiarity of this adapter is that it only supports Android phones. Out of curiosity, and just for fun, I decided to poke around and see if it could be upgraded.
Investigating the (Non-)Original ELM327
First, I decided to read up on why iOS does not work with this adapter in the first place. From what I found online, using Classic Bluetooth (not Bluetooth Low Energy) on iOS requires Apple device certification, which is hardly realistic for devices like this. Fine, moving on.
After taking the adapter apart, I found that, judging by the markings, it had a Baken BK3432 Bluetooth chip. That would already be a Bluetooth 5.0 module with support for configuration via AT commands. The SDK and detailed documentation for it are available on the manufacturer’s website, which means there is at least a path toward the goal. To check, I decided to connect to it from my phone using LightBlue and see what information the chip reported.
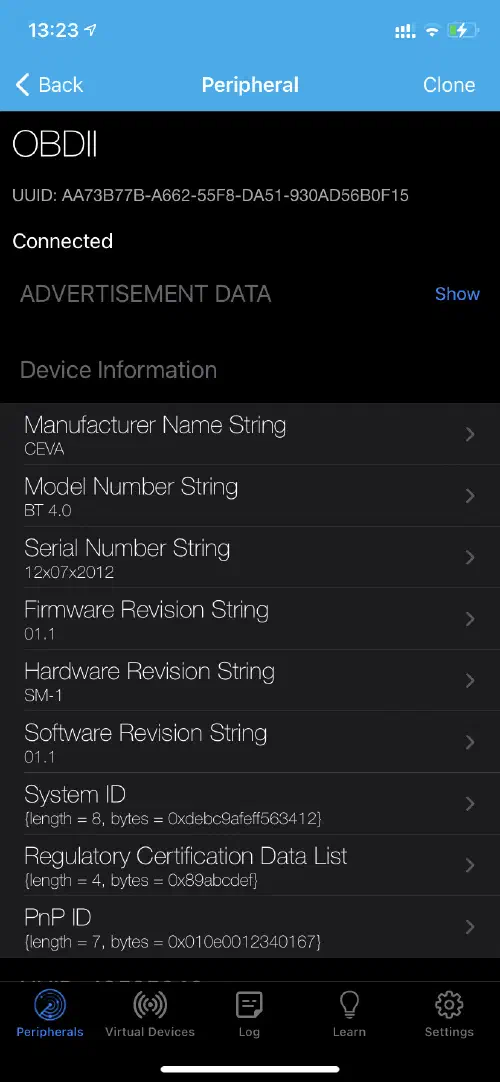
Hmm, something does not add up. The manufacturer is different, and so is the Bluetooth version: 4.0.
Apparently, for some reason, the Chinese re-marked the chip. Basically, business as usual.
Still, there was a chance that the chip would respond to standard AT commands. So I put together a small contraption to feed +12 V from the computer power supply into the adapter through a MOLEX connector:
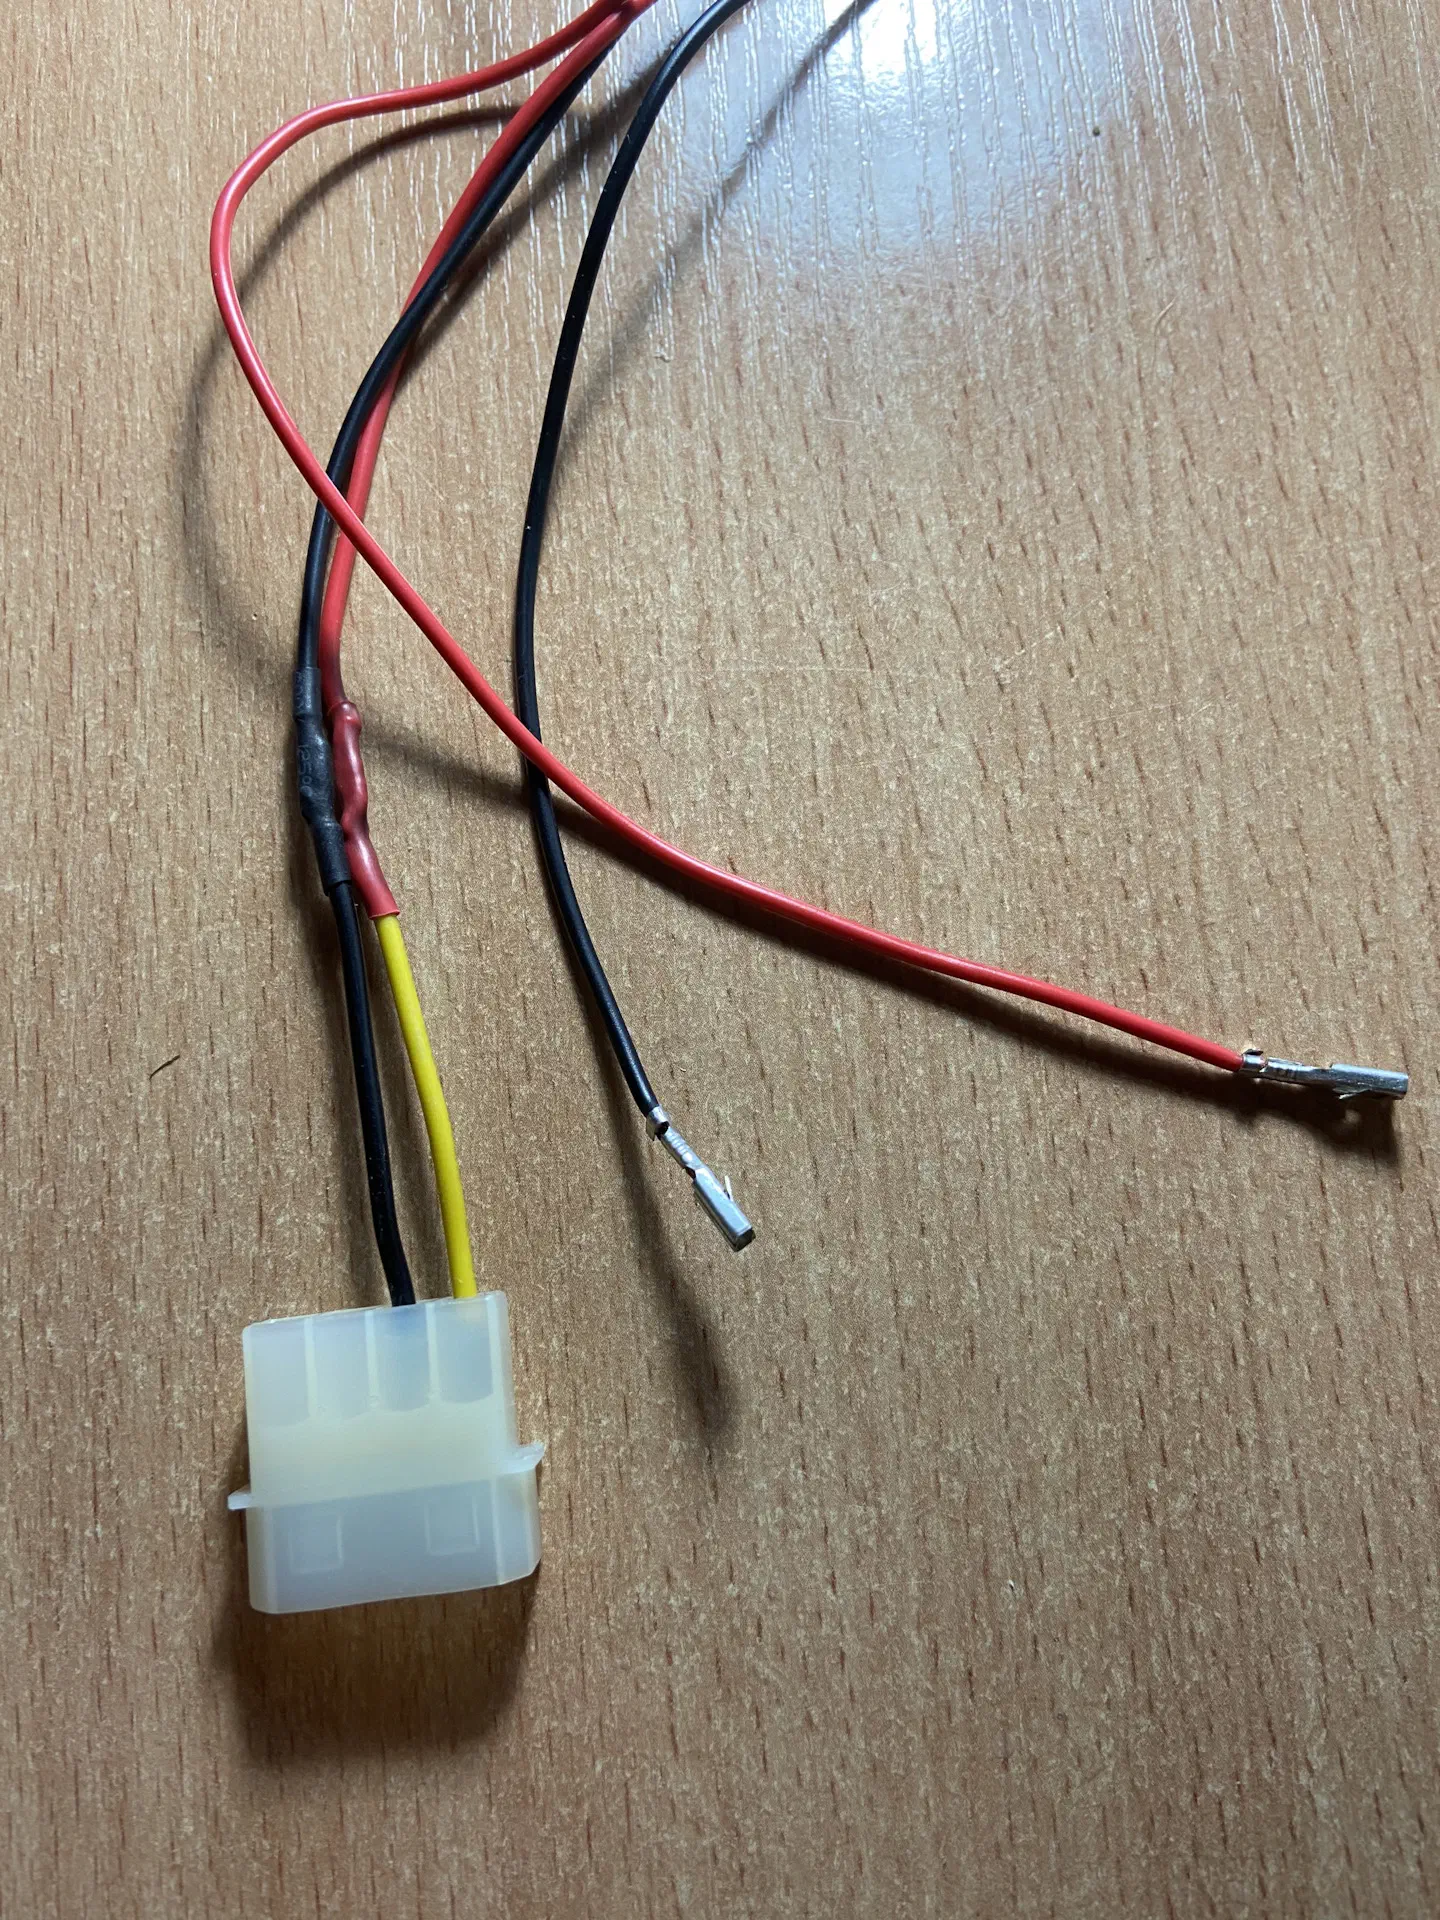
Connecting it to the adapter:
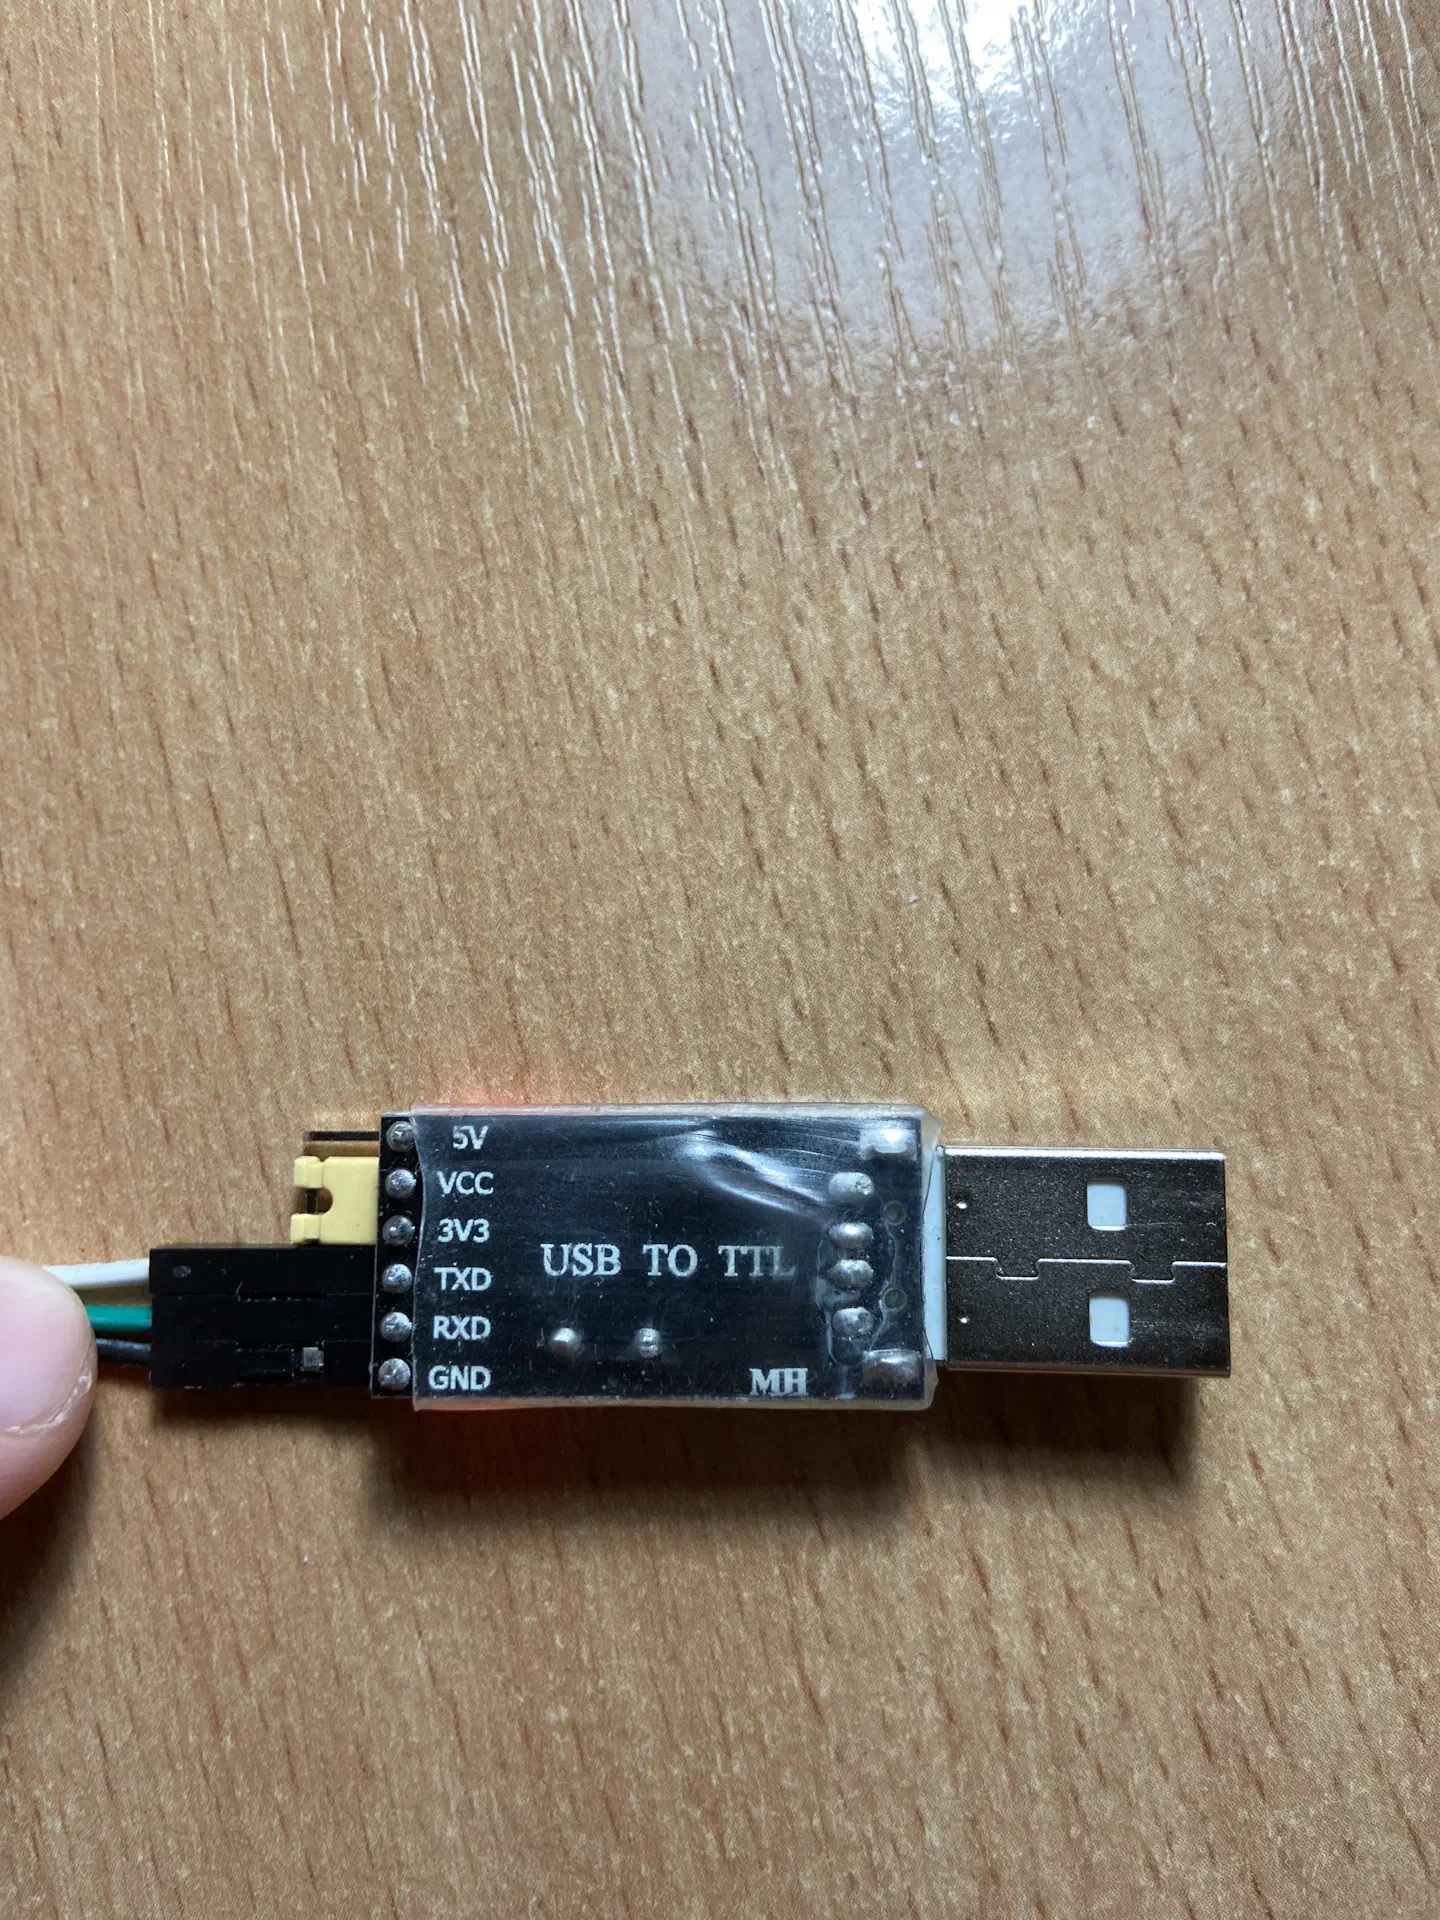
I also needed a USB-to-TTL adapter (found one in the stash):
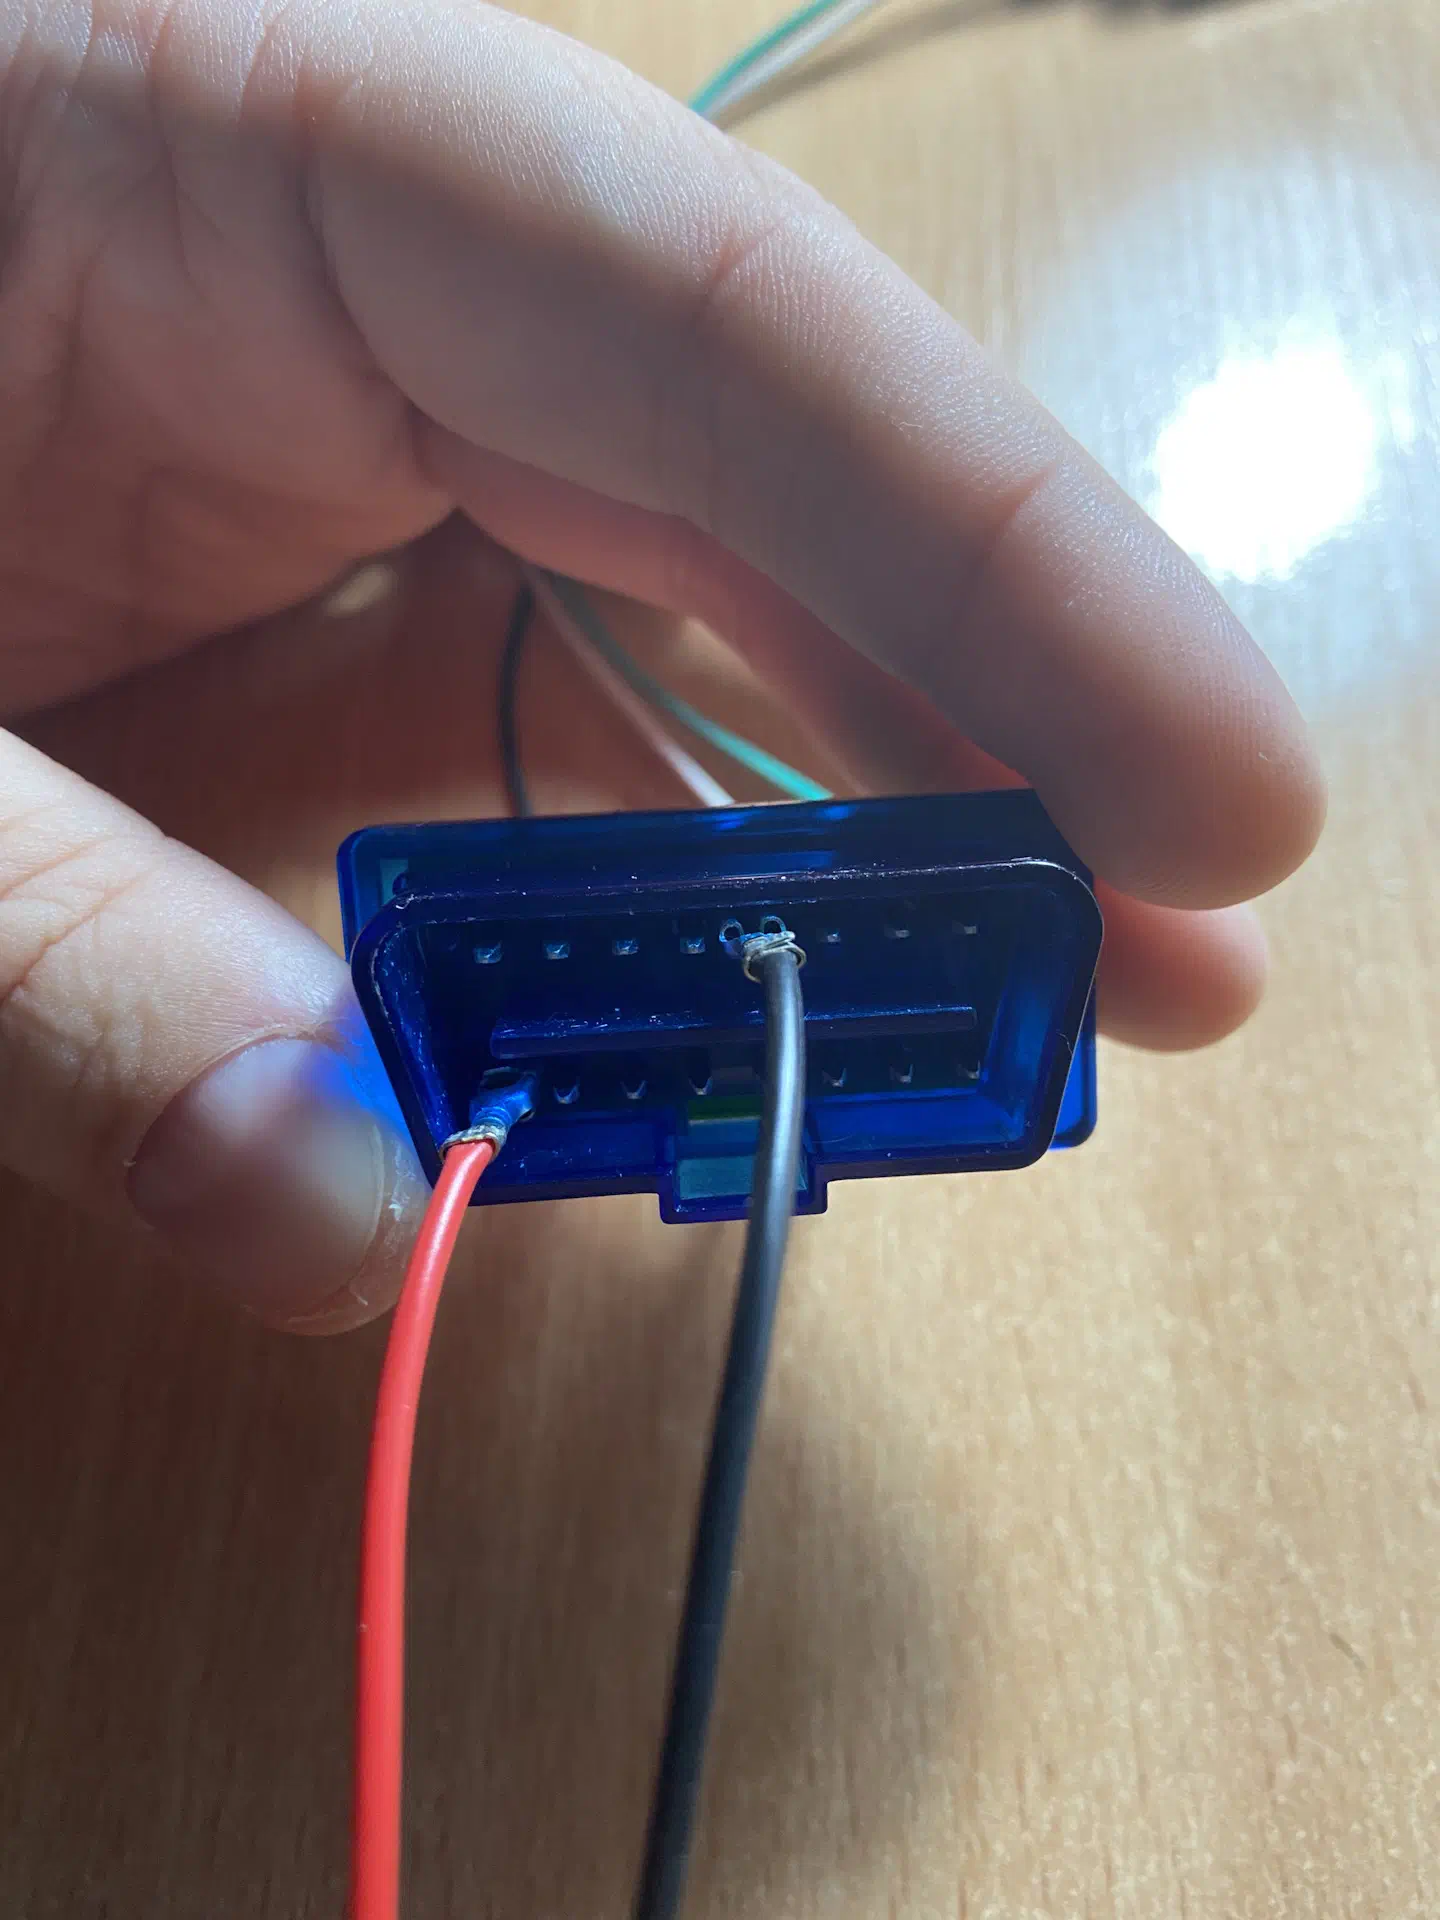
And then solder onto the RX, TX, and GND contacts. All Bluetooth modules of this format have the same pin layout:

This is easy to verify by noticing that the RX, TX, VCC, and GND contacts are exactly the ones soldered.
After connecting all of this to the computer, I launched a terminal and tried sending the AT command at different baud rates, but could not get any response at all. From this, we can assume that this module is not configurable, and there is no way for us to change its settings. Sad…
Replacing the Bluetooth Module
I had some AT-09 modules lying around, bought a couple of years ago for various DIY projects.
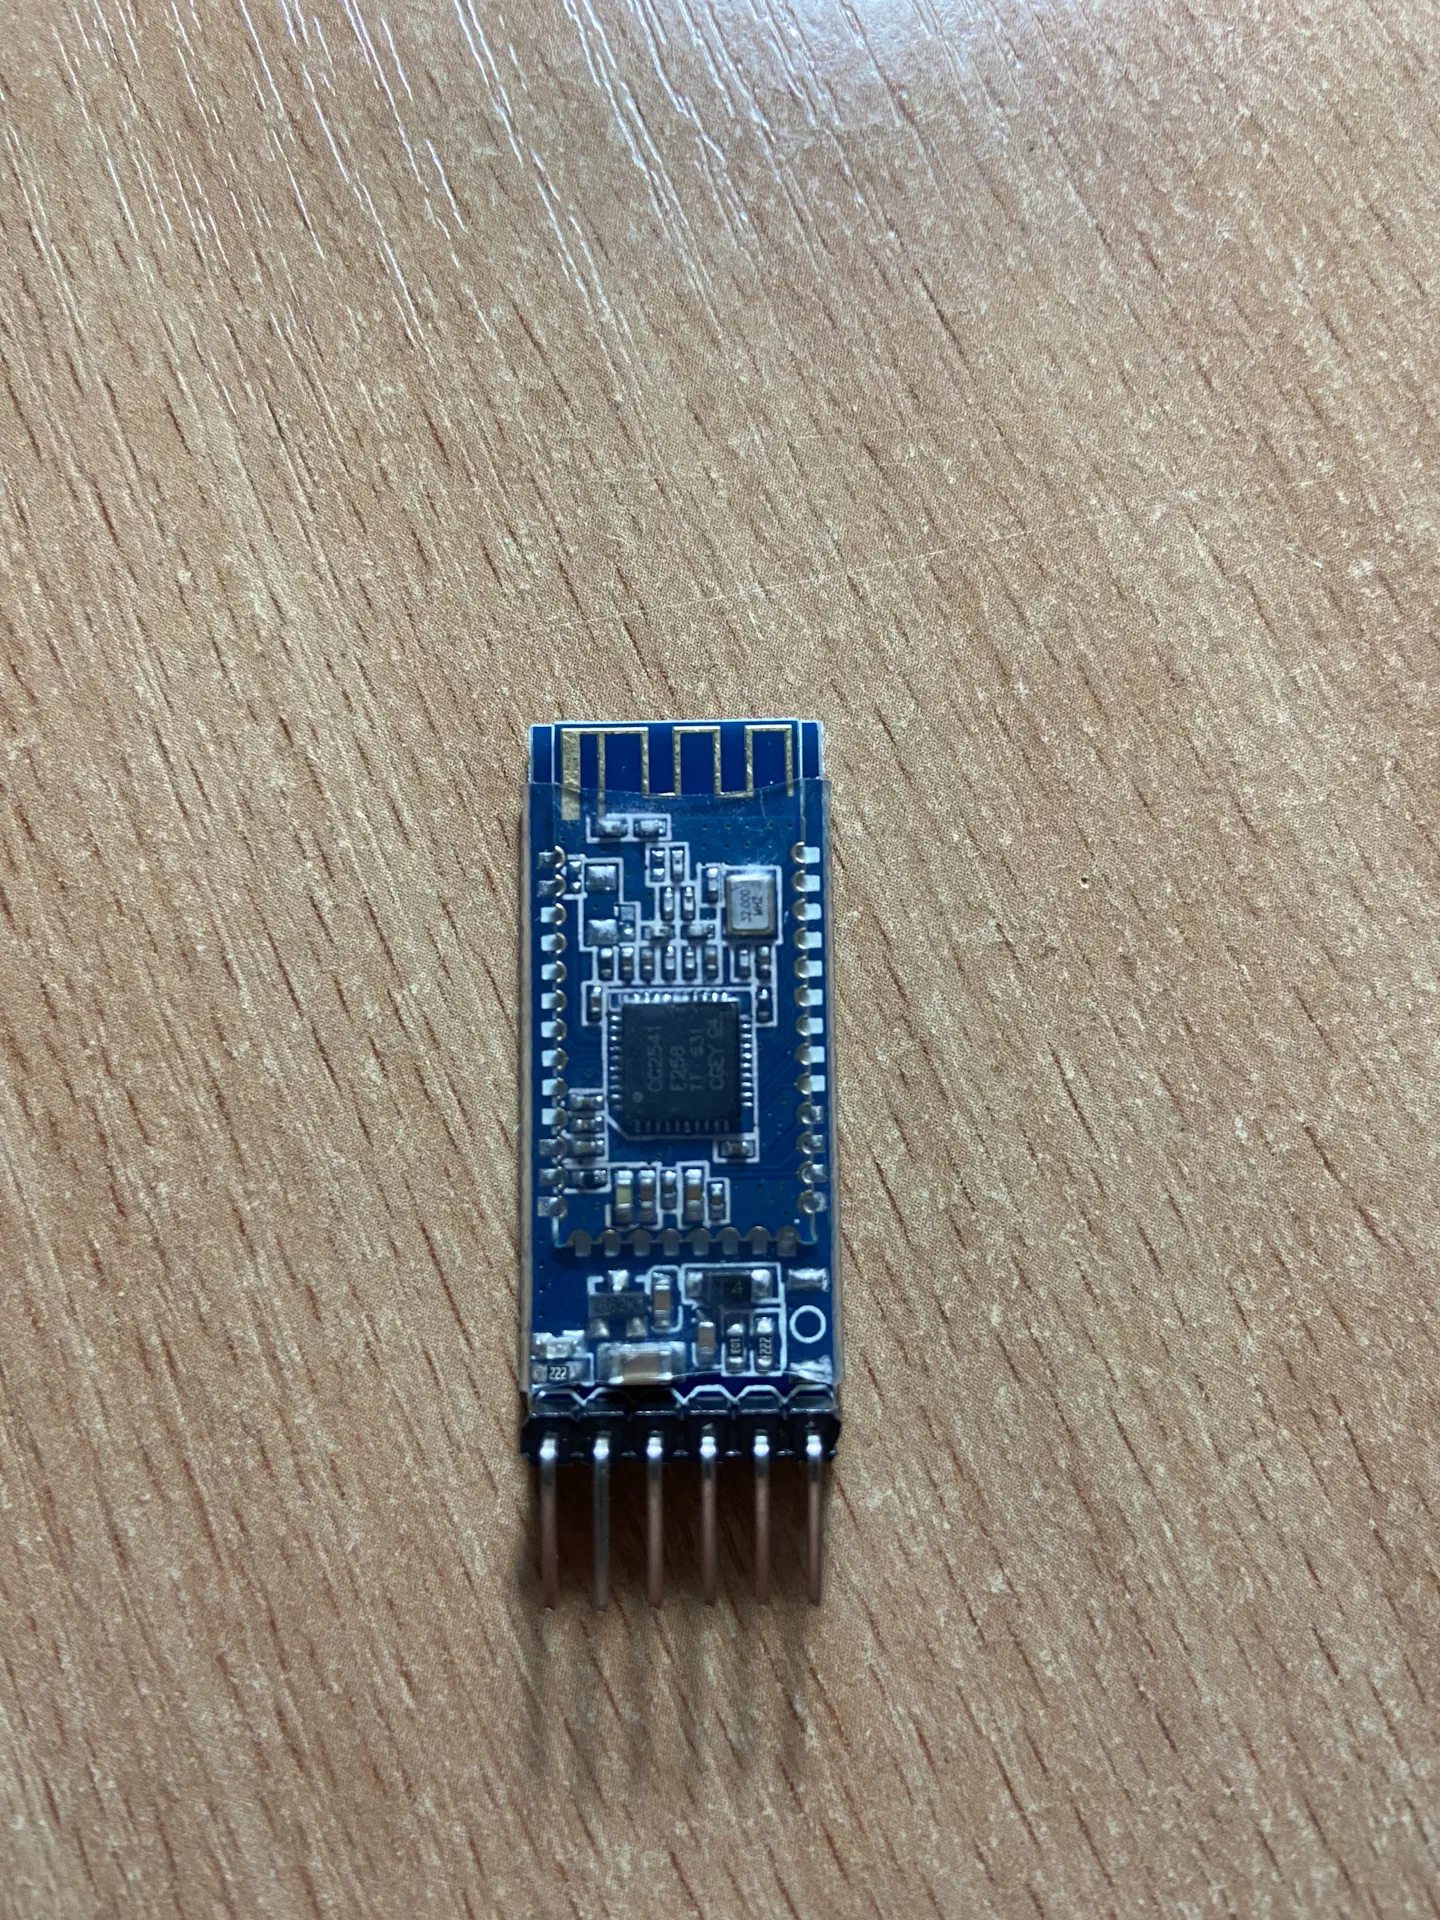
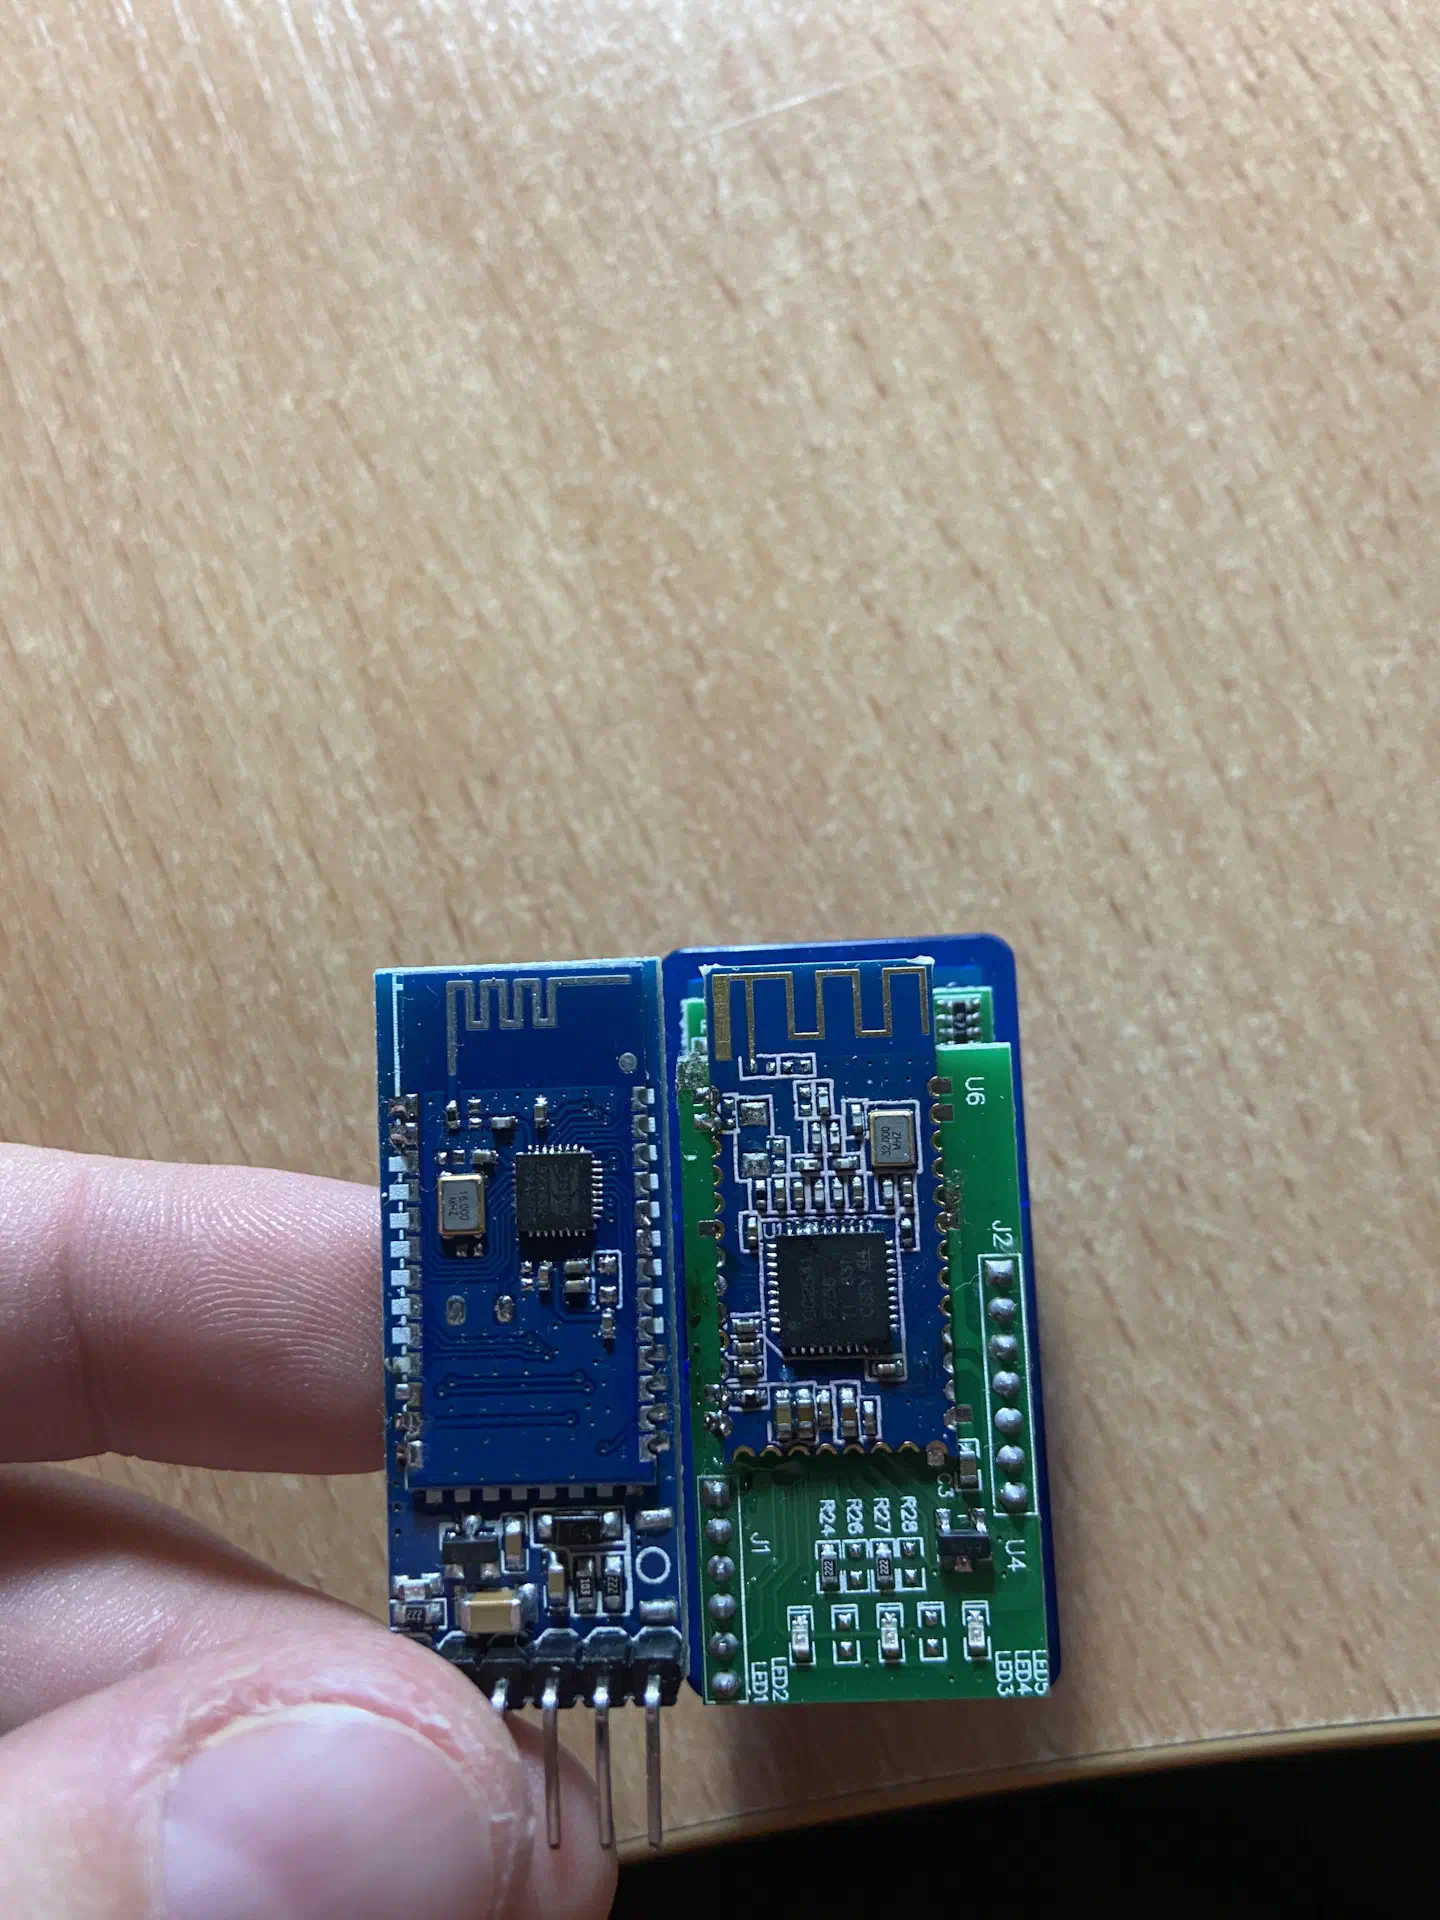
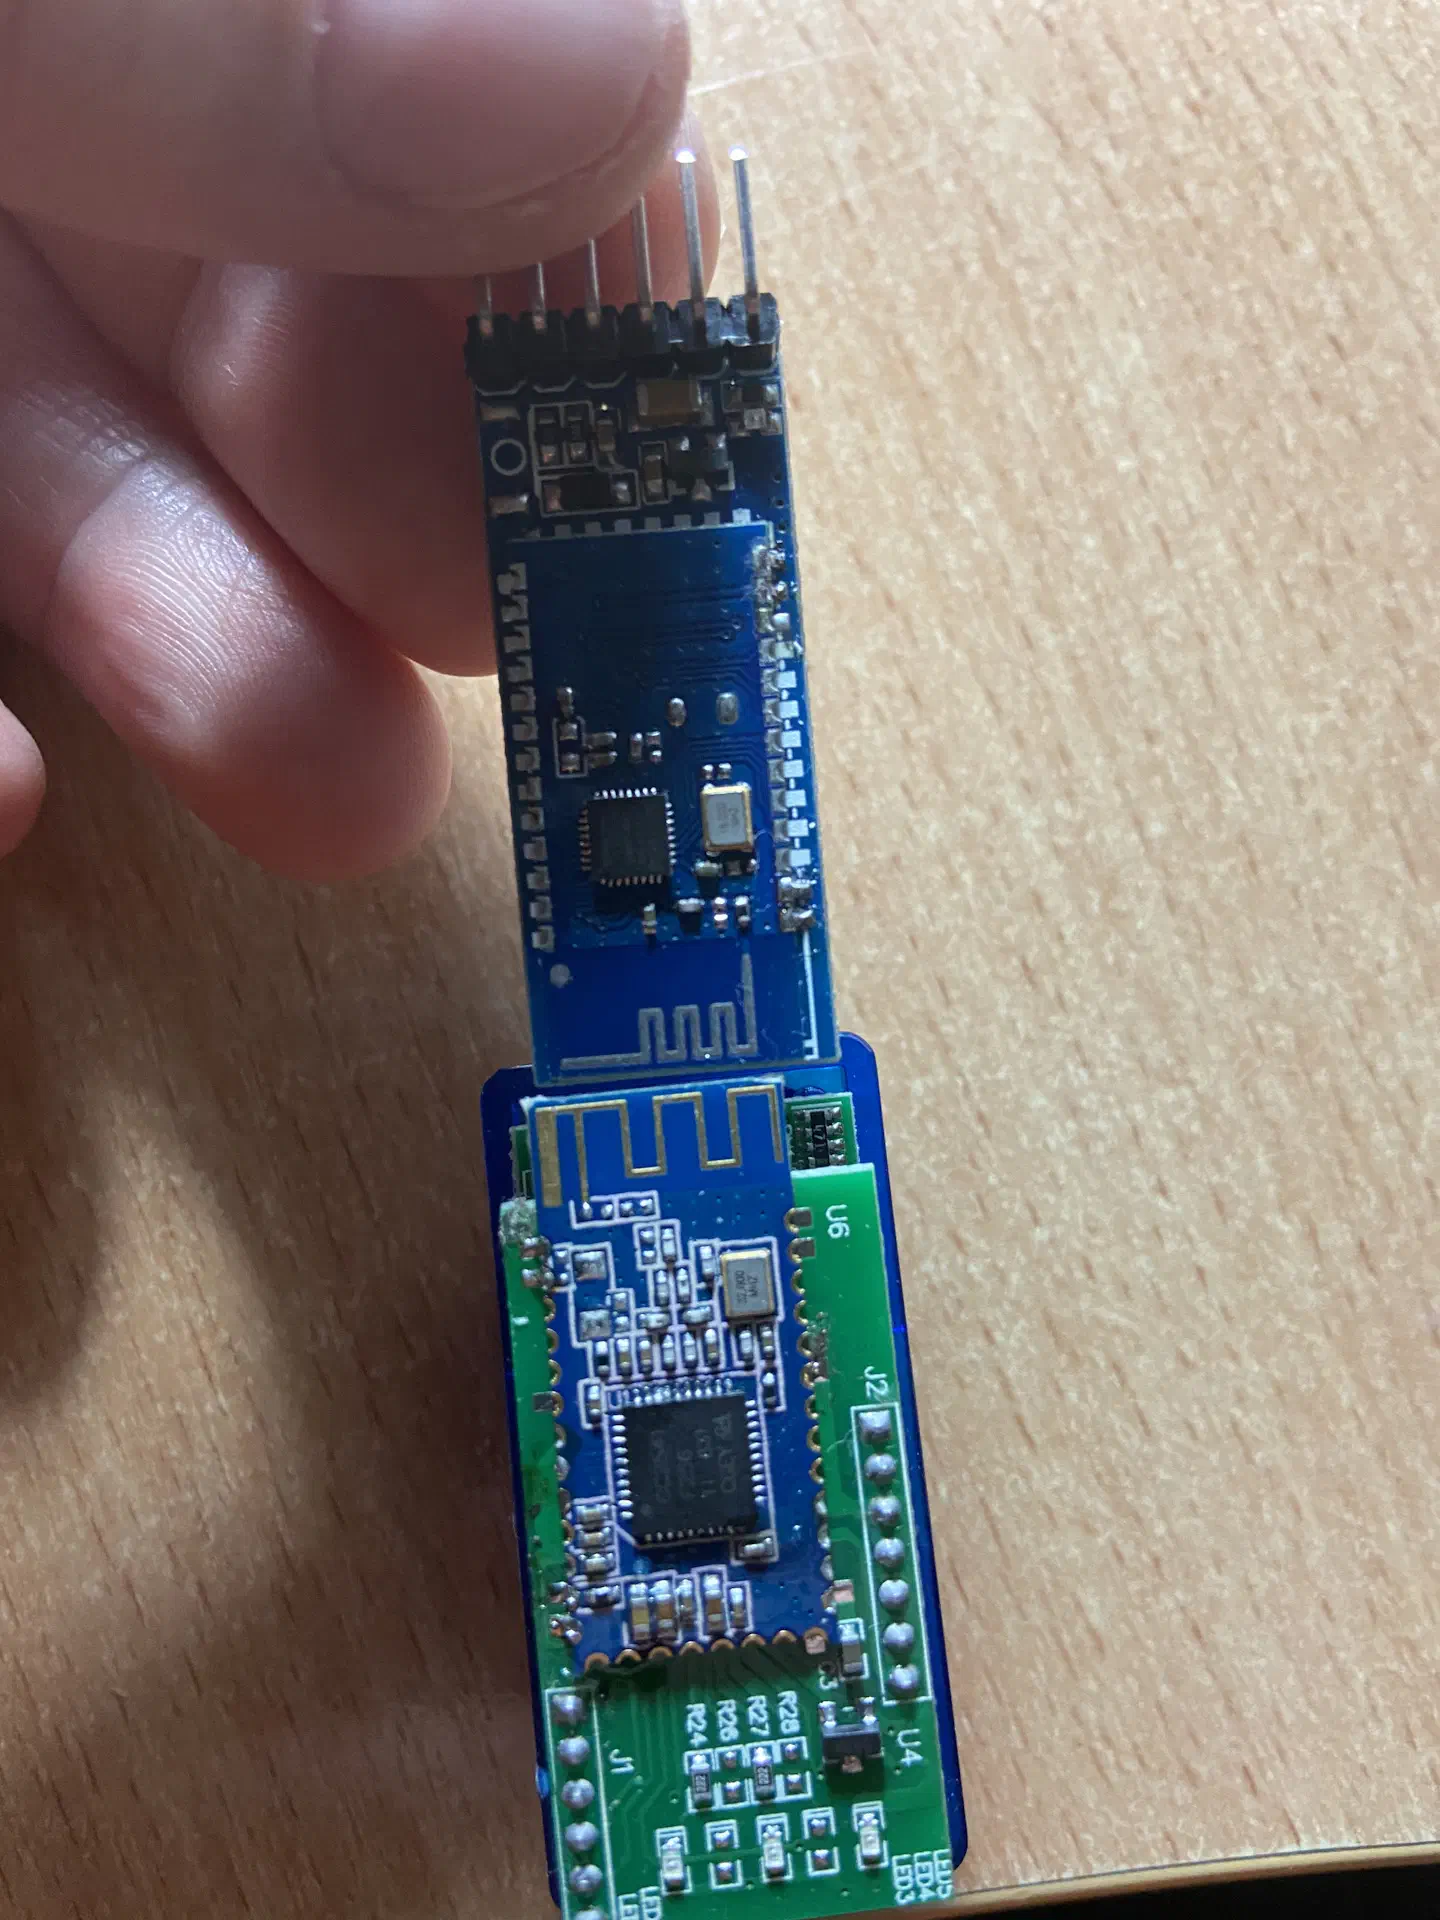
I had already used these modules before and knew for sure that they work with iOS without any problems. The form factor of the modules themselves and their pinout are the same, so why not simply replace some unclear, non-configurable module with something more understandable and familiar?
Said and done (the photos were taken after the resoldering):
Before that, I reflashed these modules as HM-10 using this guide, but I took the latest firmware available for HM-10 from the manufacturer’s website.
Only a small thing remained: reconfigure the module so that iOS software would recognize the adapter as some other, more popular one. The documentation with the list of configuration commands is also available on the manufacturer’s website.
We connect to the module through USB-to-TTL using the already familiar scheme:
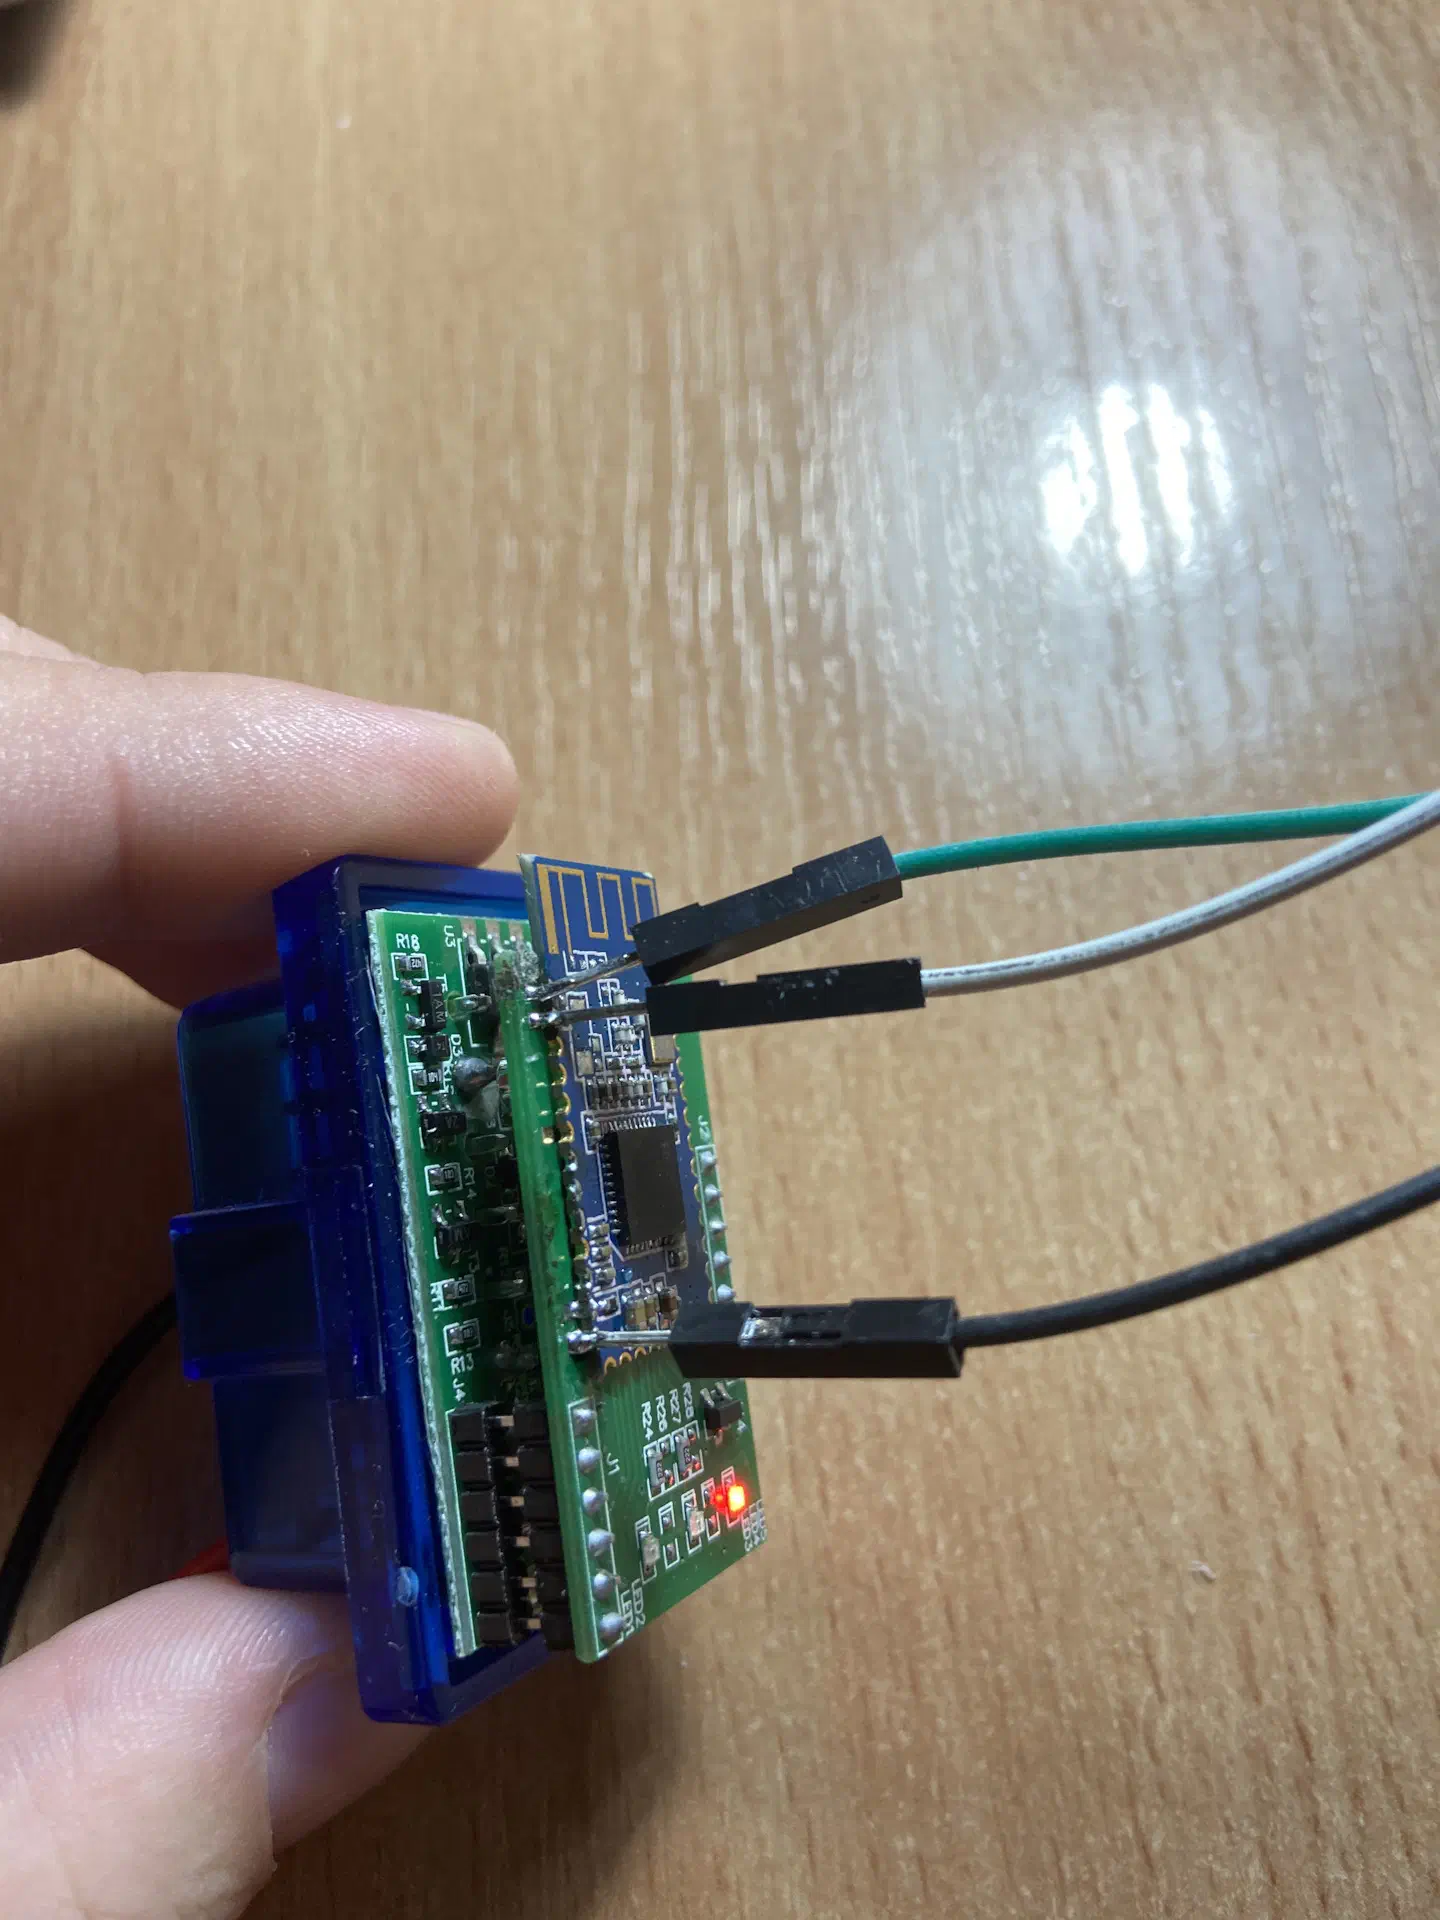
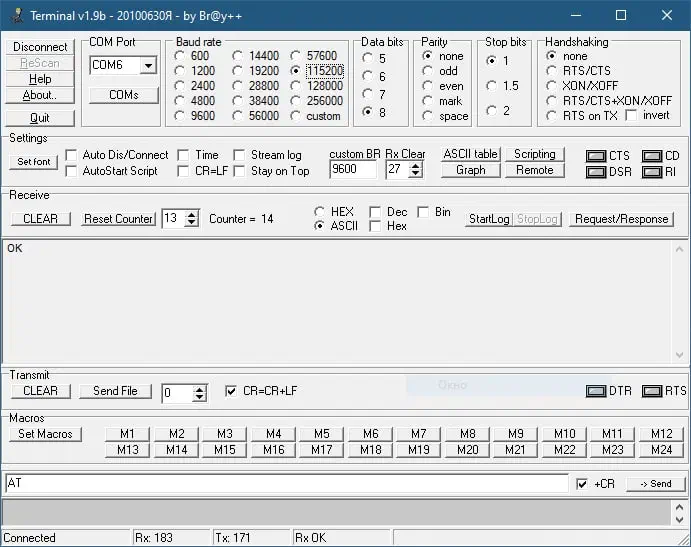
Open a terminal and connect to the required COM port assigned to the USB-to-TTL adapter at 115200 baud. On Windows, you can use Terminal 1.9b for this; on Linux and macOS, use screen.
To check, send the AT command. In response, you should get OK:
First of all, we need to change the UART speed, because in the latest firmware version the default speed is 115200. ELM, however, usually works at 38400.
To change the speed, send this command:
AT+BAUD2
After that, reconnect to the adapter at 38400 baud. Next, switch the mode so the module does not react to commands intended for the ELM:
AT+MODE0
Enable the peripheral role so that our device is used as the slave:
AT+ROLE0
Now we need to disable the PIN code for connection, because when it is present, even though it is requested, the phone refuses to connect. (By disabling the PIN, we make this device unavailable from Android, because Android’s security policy requires a PIN code. I have not yet figured out how to make the adapter available on both Android and iOS.)
AT+TYPE0
At this point we can already connect to the adapter, but it refuses to work for several reasons:
- First, the software does not want to connect to an unknown adapter (meaning the name).
- Second, the module currently uses a GATT service with UUID 1101, which represents Serial Port Profile (SPP), support for which was removed from iOS some time ago.
So I needed to find parameters that could fool the software by pretending to be some other adapter. After spending a bunch of time searching, I found a forum where people discuss a Custom BTLE Adapter. They write the configuration from a Veepeak OBDCheck adapter into it, and after that LapTimer connects to it without any problems. So why not do the same? Besides, as far as I understood, Veepeak OBDCheck uses more or less the same firmware version as the Chinese adapter, v1.5, so it should work.
Set the name:
AT+NAMEVEEPEAK
Set the service UUID:
AT+UUID0xFFF0
Enable separate service characteristics for reading and writing:
AT+FFE21
Set the UUID of the first characteristic (the second will use the first UUID + 1):
AT+CHAR0xFFF1
Disconnect the adapter from the computer, assemble it, and we can test it.
Results with the New Bluetooth Module
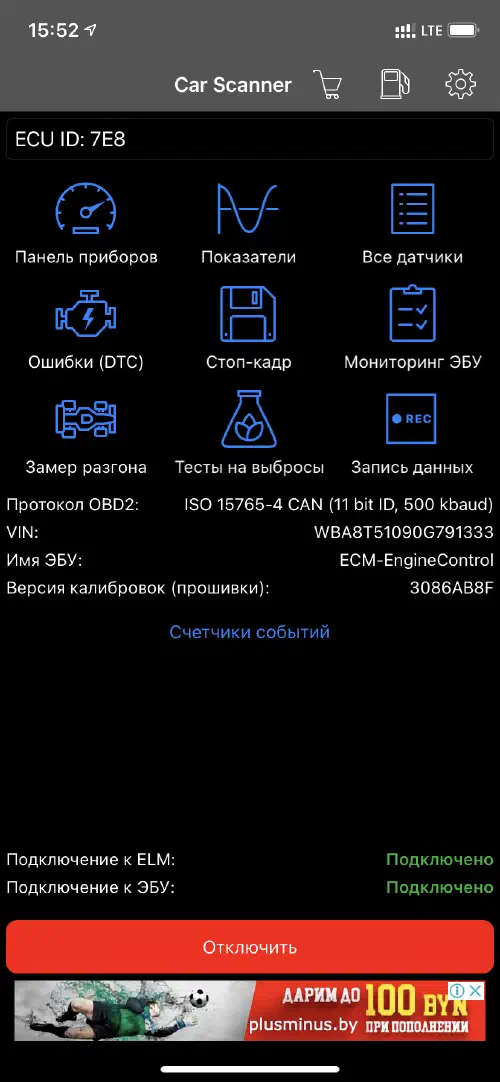
Car Scanner:
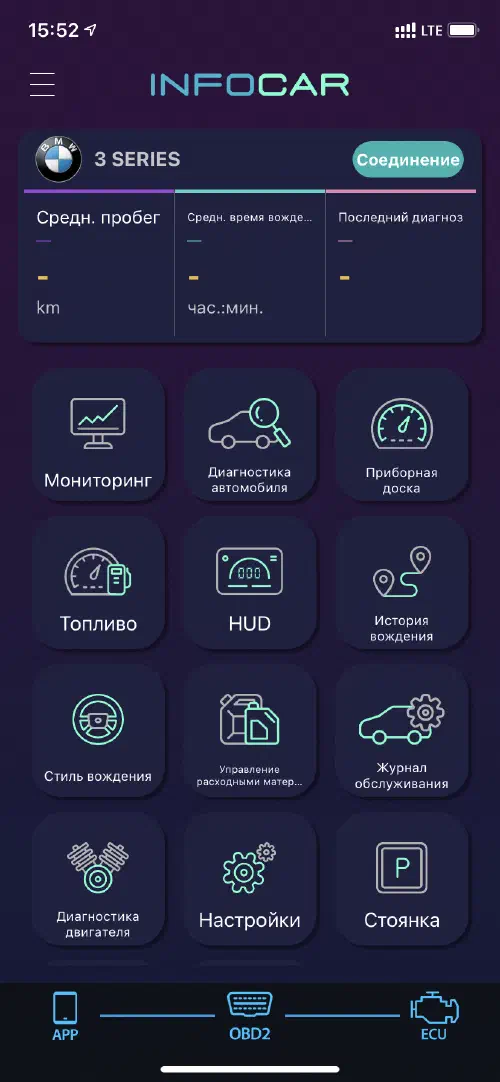
Infocar:

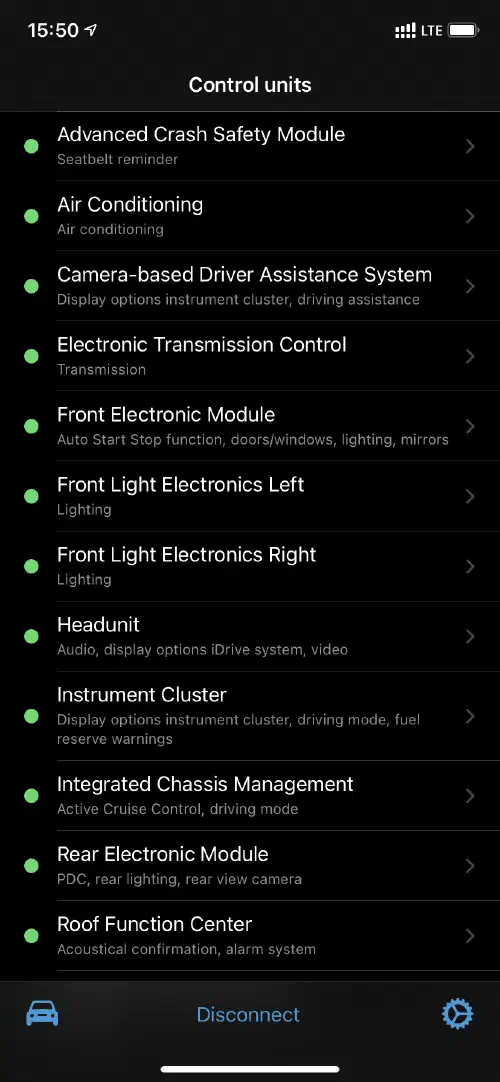
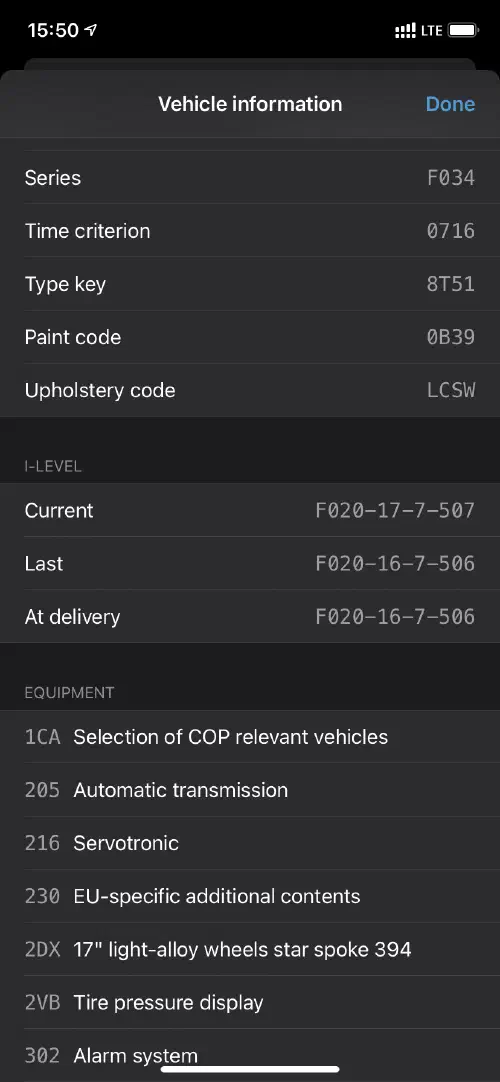
And Bimmercode:
Voila, we now have an adapter that works without problems with most apps on iPhone and iPad!
Post Scriptum
Since I have not yet figured out how to make PIN-code use work together with iOS, I do not recommend leaving the adapter connected to the car.